Plant Moisture Sensor
Our senior year house’s plants were dying prematurely due to inconsistent care caused by everyone's busy schedules. To address this, I designed and developed an automated moisture sensor system to monitor soil hydration levels and ensure timely watering.
My role involved designing the sensor circuitry, selecting appropriate components, and integrating the system with a microcontroller for automated monitoring and notifications. This project allowed me to apply my mechanical and electrical engineering skills to create a user-friendly solution that promotes plant health by simplifying plant care.
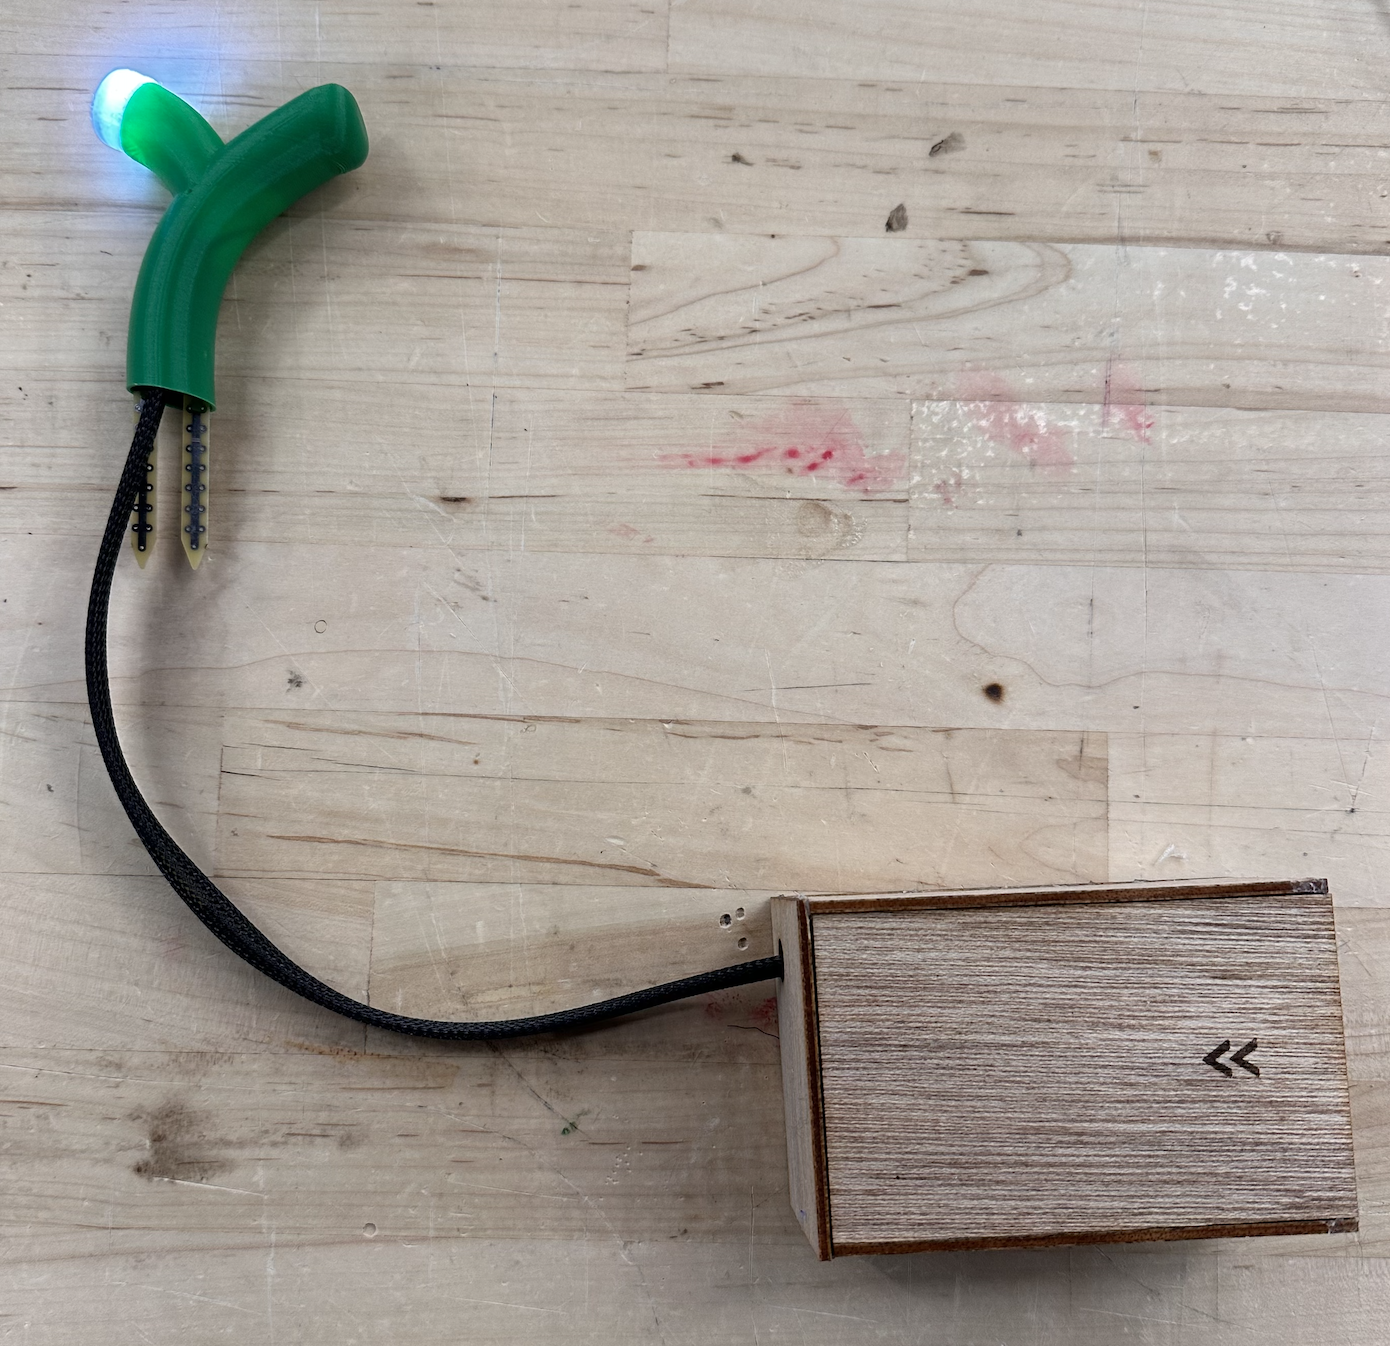
Demonstration of plant needing water (LED on) and reaching the appropriate moisture level (LED off)
PROJECT FEATURES
Product Design
Testing
3D Printing
DESIGN GOALS
01 AESTHETIC
Creating a final product that is refined and polished without exposed wires
02 CIRCUITRY
Connecting moisture sensor to arduino which is programed to turn on LED at a specific moisture level
03 COMPACT
Adaptable for installation in a wide variety of plant types and sizes
Sprout
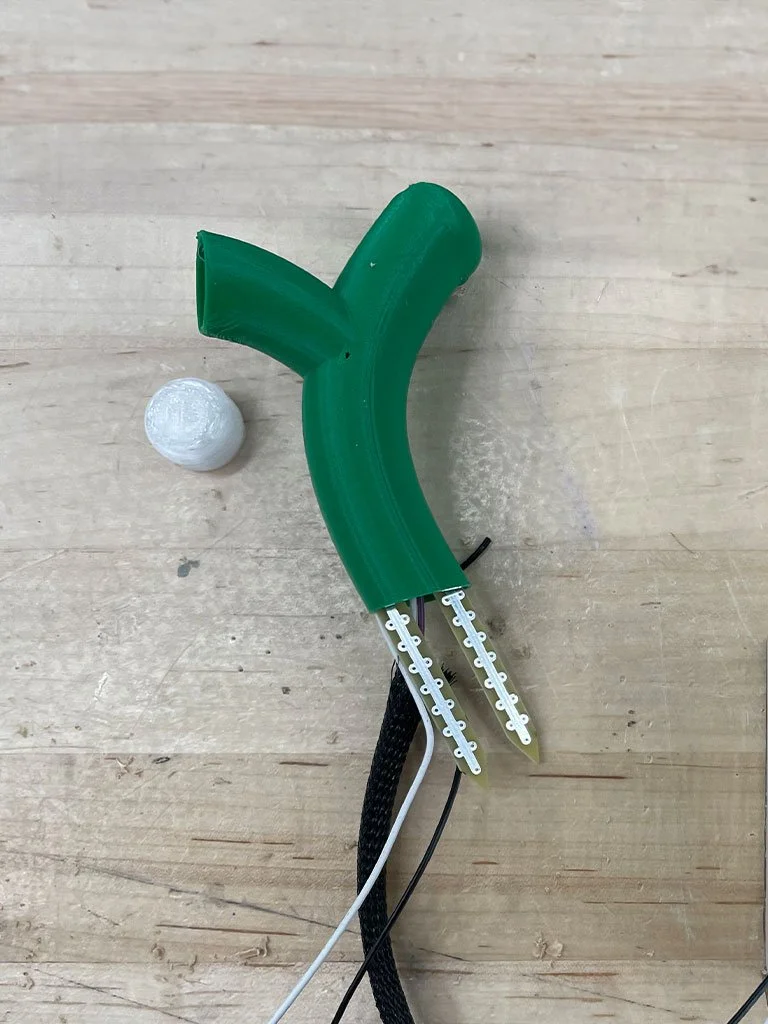
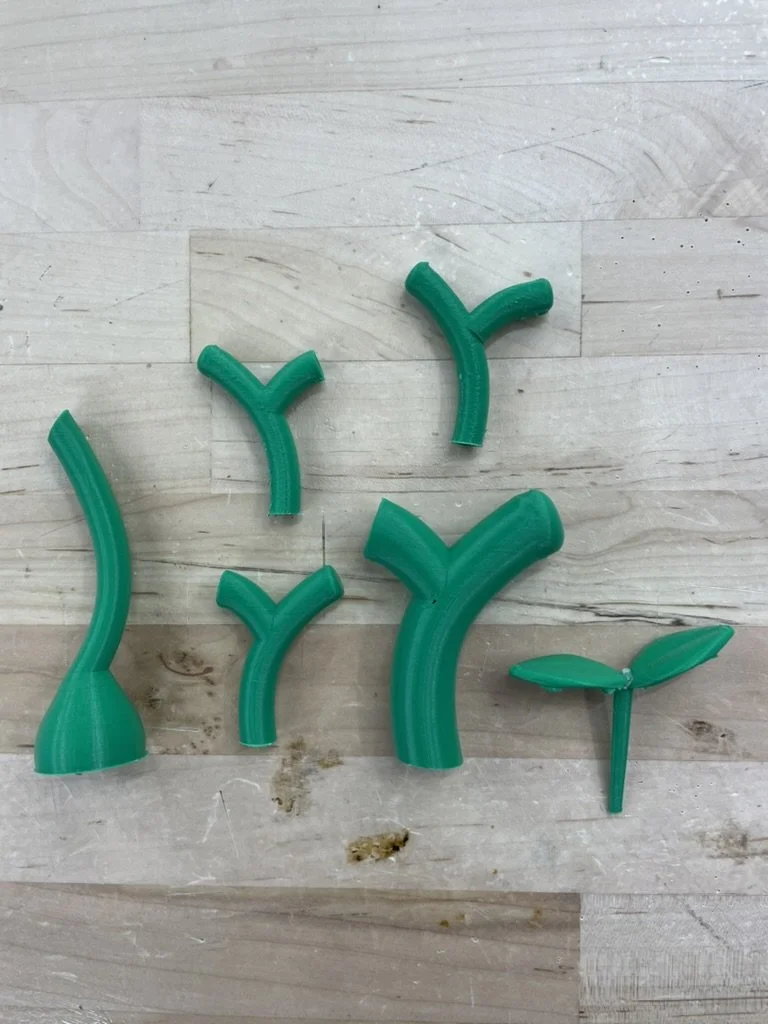
During the design process, several iterations of the sprout were developed. The size and shape of the sprout were carefully tailored based on the dimensions of the moisture sensor and its ability to accurately measure moisture levels in the soil.
The LED cap, shown detached on the right, is engineered with precise tolerances to fit securely at the end of the sprout. Clear PLA was selected for its material properties, allowing the LED light to be visible through the plastic, providing a clear visual indication when the plant requires watering.
Circuitry
The circuitry for the project comprised of a soil moisture probe, an LM393 High Precision Comparator, an LED, an Arduino, and connecting wires. While the circuit itself was relatively straightforward, the primary challenge lay in integrating all components effectively. Determining the appropriate wire lengths to thread through the stem and establish proper connections with the Arduino required careful planning and precision.
Polishing
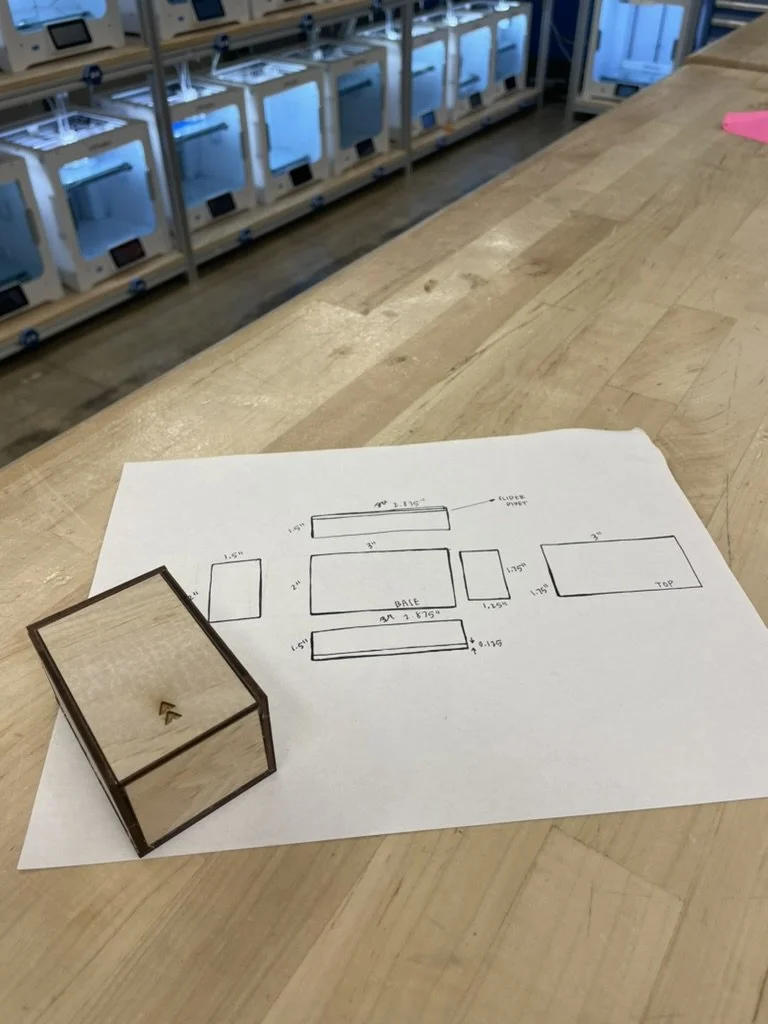
Final stages of the product development process requires careful planning of how all the electronics were going to be stored and hidden away. The Arduino is held in a laser cut wooden box with a hole which leads out to the LED in the sprout. The wires from the LED are hidden with a wire sleeve which completes the look of the product.


